
Landlord Bookkeeping - Managing Tenants
Level Up Your Landlord Game with QuickBooks Desktop and Statement Charges! 

 Hey, Queens and Kings of Real Estate! Are you ready to slay your landlord game and conquer the world of tenant management? Well, get ready to upgrade your hustle with the powerful combo of QuickBooks Desktop and Statement Charges!

Benefits of QuickBooks Desktop:
 QuickBooks Desktop is your ultimate secret weapon for managing tenants like a boss. Here's why it's time to get on board:
 Streamlined Onboarding:
 Say goodbye to tedious paperwork! QuickBooks Desktop simplifies tenant onboarding, making the process smooth and effortless.
 Tenant Information Management:
 Keep track of crucial tenant details like rent charges, payments received, and security deposits in one centralized place. No more scattered notes and sticky reminders!
 Efficient Rent Charge Management:
 Create statement charges for rent in a snap! QuickBooks Desktop allows you to automate rent charges for all your tenants with just a click. Cha-ching!
 Time-Saving Memorized Transactions:
 Memorize those rent transactions, honey! Save yourself the headache of manual data entry every month. QuickBooks Desktop remembers the charges for you, giving you more time to slay in other areas.
Statement Charges for Move-In and Move-Out:
Now, let's talk about the real magic – Statement Charges! Here's how this feature can level up your game when tenants move in and out:
 Move-In Checklist Made Easy:
 Wave goodbye to endless paperwork and confusion during move-ins! Use the move-in checklist to document any existing damages and get that tenant's sign-off. QuickBooks Desktop keeps everything organized and foolproof.
Smooth Move-Out Inspections:
 Snap, snap, and you're done! Capture pictures of damages during the move-out inspection and have your tenants sign off on them. QuickBooks Desktop lets you easily track repairs, replacements, and cleaning tasks needed.
Hassle-Free Security Deposit Management:
 No more fussing over security deposits! With QuickBooks Desktop, you can effortlessly deduct repair costs from the tenant's security deposit and track any refundable amounts. It's like having your own personal financial wizard!
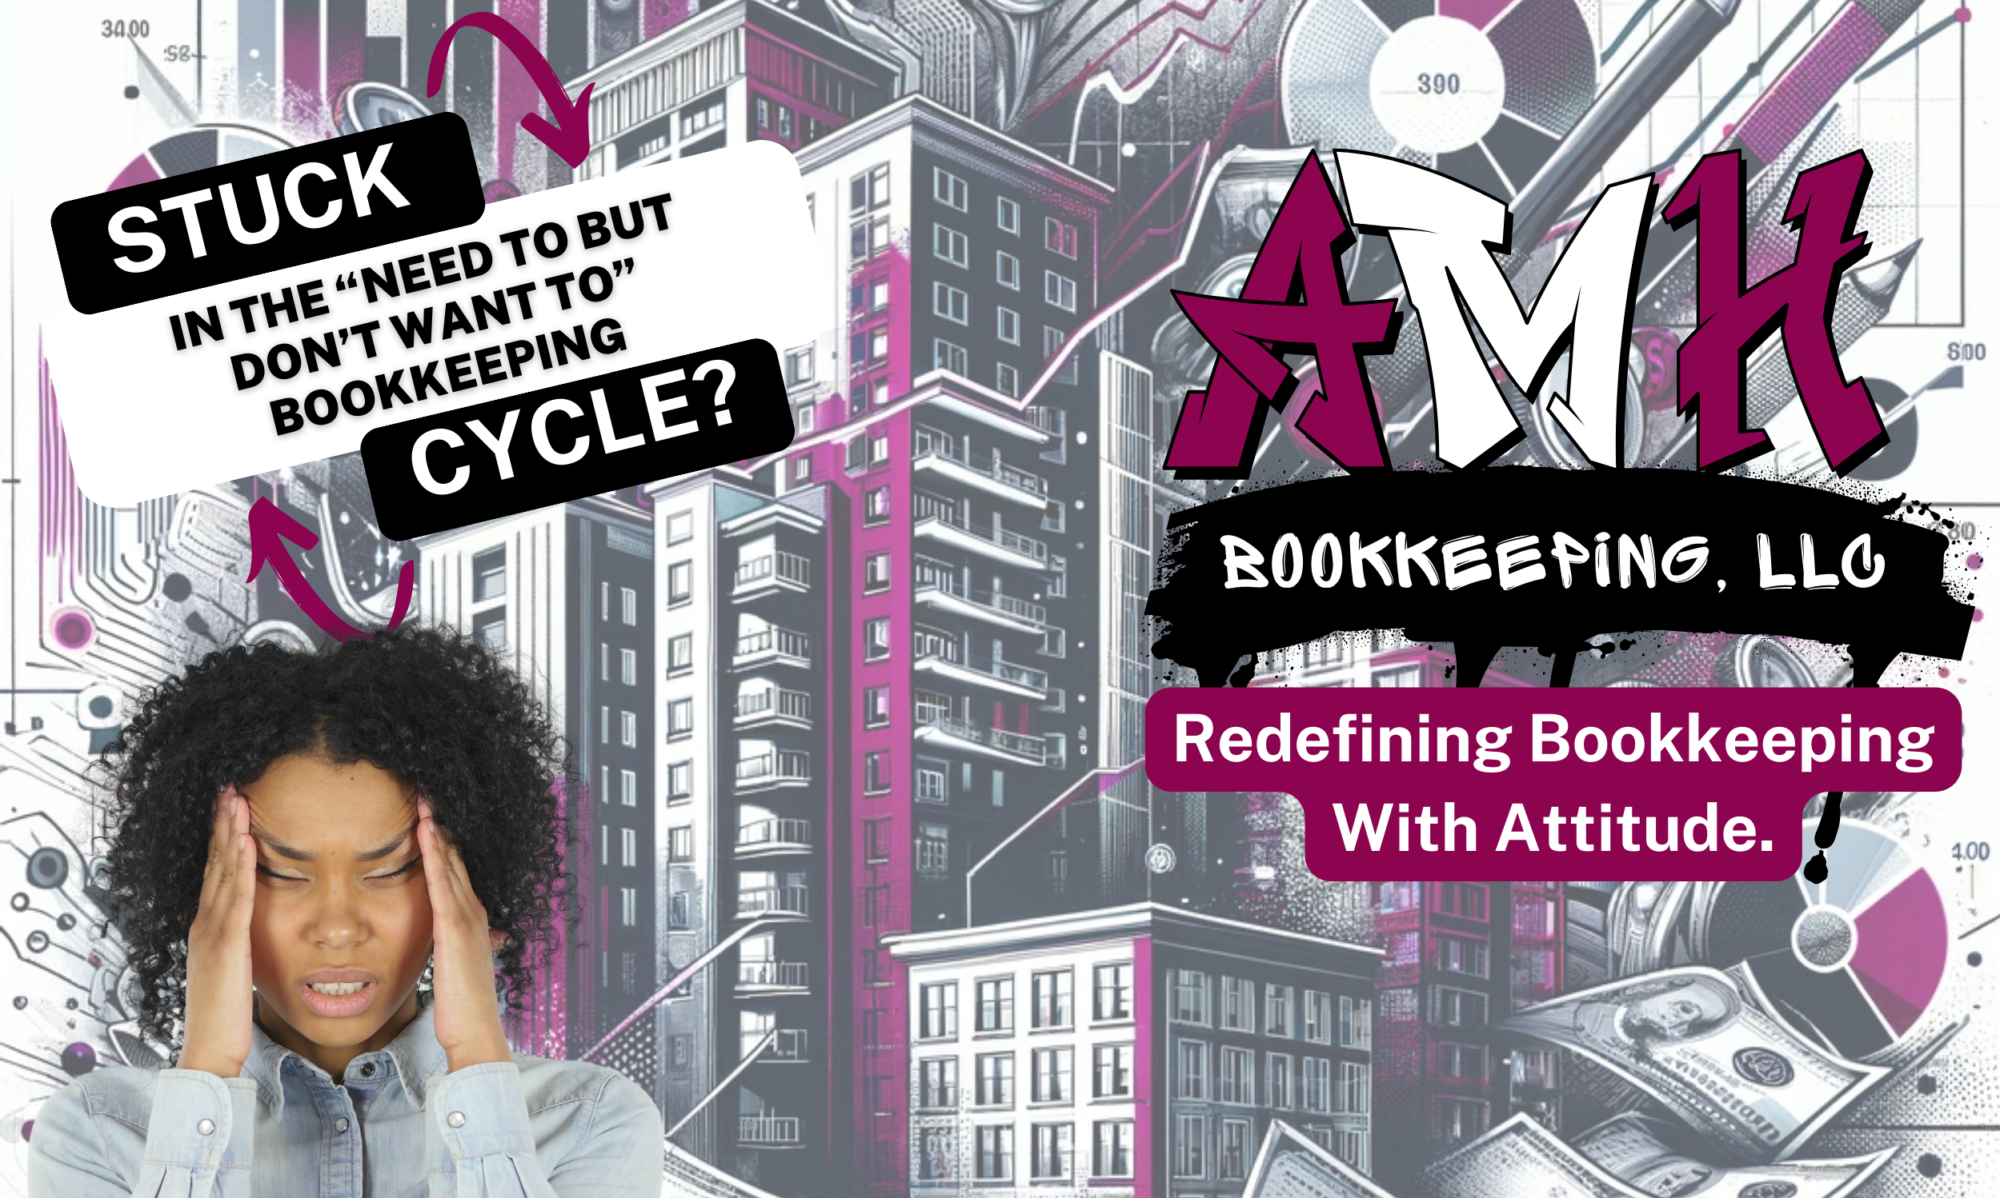
Work with AMH Bookkeeping LLC:
Ready to take your landlord game to the next level without the bookkeeping stress? Cue the entrance of AMH Bookkeeping LLC – your fairy godmother of numbers!
 Focus on Growth, Let AMH Handle the Books:
 Say goodbye to bookkeeping headaches! AMH Bookkeeping LLC specializes in QuickBooks Desktop and can handle all your financial needs while you focus on expanding your empire.
Personalized Bookkeeping Magic:
Get the magical touch of AMH Bookkeeping LLC with personalized solutions tailored to your unique real estate business. Your success is our priority, and we've got your back!
 It's time to level up, darling! QuickBooks Desktop and Statement Charges are the dynamic duo that will revolutionize your tenant management. Streamline your processes, save time, and conquer the world of real estate with ease. When you're ready to add a sprinkle of AMH Bookkeeping LLC magic to your journey, we'll be here to slay with you. Let's make those numbers work for you, fam
 !
!

 Learn more about how AMH Bookkeeping LLC can elevate your landlord game at amhbookkeepingllc.com. Get ready to shine like the badass rental property owner you are!
